Great Find at Goodwill! Funny how random things come together sometimes. As any homeowner will tell you, there are always projects. This improvement is fun, fast and 'furbished :)
A short while back, in a mad bathroom cleaning frenzy, I wiped down the garbage can. Really yucky job. This one is super special, as it's the 1st (of 3) ivory plastic scalloped numbers from 1980 something.
 |
| Why, Right? |
The why became apparent in a short trip to the local Freddie”s: pretty garbage cans are pretty expensive! The idea was immediately back-burner-ed. Until the halloween / goodwill trip last month, that is!
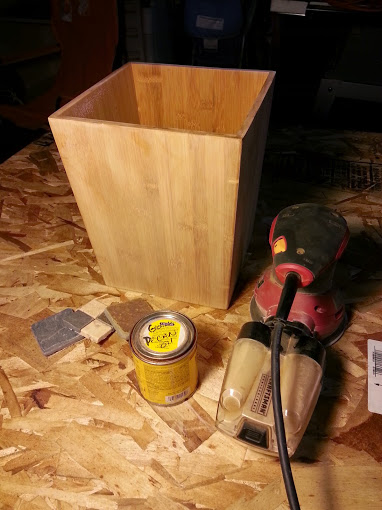
My find: a solid, plain beechwood garbage “can”. I could hear it screaming, “Look at me! The possibilities are endless!” Easily retailing for around $40, and here it is for $6.99!

Sadly, it was not green tag day,
so no additional discount.
 Yes indeedy, the possibilities are endless. However, I knew exactly what this little guy needed—fresh stain and tile embellishments. (Leftovers from the last bathroom project, yippee!).
I should warn everyone that many, many, many of my projects are not done with the proper tools and sometimes not with a lot of forethought. More often than not, my projects a learning experience.
This is not a tutorial or advice! Just another day in my life :)
The waste basket (it’s not really a can or a box so we’re going with basket), is in great shape. No yucky stuff on the bottom to clean thank goodness. That could've been a deal breaker.
However, a light sanding with a fine grit and quick coat of stain will make it like new. This oil based stain is one of several colors on the garage shelf, Golden Pecan. It'll give the lighter beech wood a more rich tone.
Side Note: The stain took quite a while to dry--over a week! 2 possible
contributing factors:
- The temps dropped just after applying the stain. Most poly’s / paint labels advise not to use products below 50 degrees. Even though it was applied in the mid ‘50’s range (give or take a degree), drying time was compromised.
- Sanding with a deeper grit and graduating to a fine grit would have removed a deeper layer, exposing more bare wood for the product to adhere.
Back on track, I pulled out 3 left over tiles and the caulking gun.

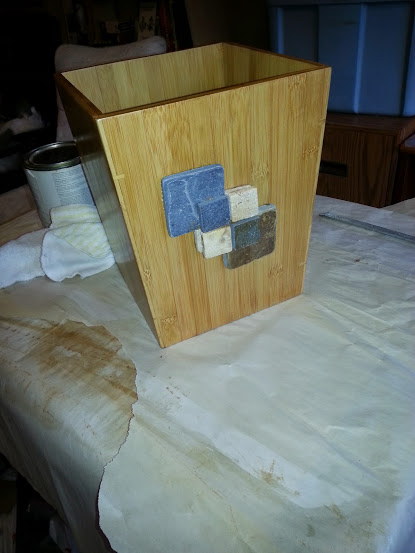
The tiles are a bit big against the basket laid out flat. However, layering them creates a nice visual interest! Luckily, there are tubes of brown and grey tone caulk here, which easily blends if one were searching for caulk lines. Really, just a smidge will do; a line about the size of your finger running criss cross. I took care to trim the grid backing on the tiles, so not to be seen from front or side :)
Another Side Note: The 4 mini tiled square was a bit flimsy on two corners, as it had nothing to attach against. To resolve the issue, dissect another separate 4 mini tile and slip 2 mini tiles between the basket and exposed / hanging tiles.
 Don’t panic if the caulking smudges the wood, it wipes away with a damp cloth. The stones may be trickier to clean. Not that I would have experience with that.
Once the tiles “set” overnight, I finished it off with a quick spray of clear satin poly over entire project. The colored tiles immediately popped, turning the dusty slate grey into striking gun metal--almost navy blue--rich color! Love!
I feel that my work here is done. Yay, Pretty New, Garbage Basket! Thanks for reading, hope you like my project. Feel free to comment, if the comment button is working, that is. Enjoy your Thanksgiving Holiday, folks. And please don't spit on anyone just to get closer in your Black Friday line. Honestly! Many Blessings ~Yvette
No comments:
Post a Comment
Got ideas? Share them here! Please keep it friendly :) ~Y